 |
This photo is retouched with Photoshop to hide some imperfect details.
Making the Air Bonsai
After spending hundreds of dollars on Kickstarter, I finally got tired of it. It’s not that Kickstarter projects come with premium prices — innovation comes at a price and I understand that. It’s the wait time that I cannot stand.
I spent a year waiting for my Emotiv Insight, half a year for Bison Bag, and four months for The FreedMan Chair, which actually broke down in four months. Finally, I decided to start hacking some of those products myself — not aiming to make perfect products or be a copycat and compete, but to make quick working prototypes so I don’t end up biting my nails while anxiously waiting for my expensive toys to arrive.
The first product I made was basic version of the Air Bonsai. I was absolutely in awe when I first saw Air Bonsai — it’s like the essence of Zen, Bonsai, and Japanese culture. A bonsai floating in the air, on top of nothing but emptiness. That’s simply mind blowing.
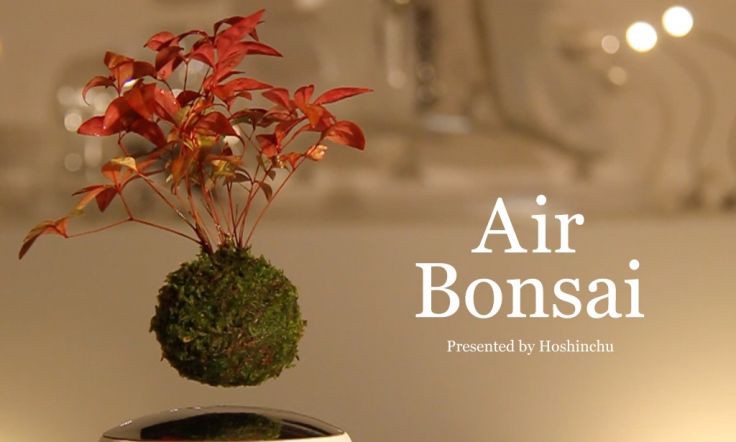
It’s the perfect kind of project I can hack — the concept is simple and the end result could be quite stunning if executed well.
The Plan
After consulting several friends on physics and hardware, I decided not to build the magnetic field from scratch. Instead, I bought a cheap one on Amazon.
The plan is just to take the magnetic field generator out of it’s original container and place it in a bowl, take the floating disk and place it in a moss ball, and then just combine the two parts.
-
Hot Glue Gun with 12–4-Inch All Purpose Glue Sticks Kit — $8
-
White bowl (or any bowl you’d like to use)
-
Exacto knife
-
Skew driver
The Process
So on a nice Saturday morning, with some coffee and chocolate croissants, Yisi — my dear friend and collaborator in many creative projects — and I got to work.
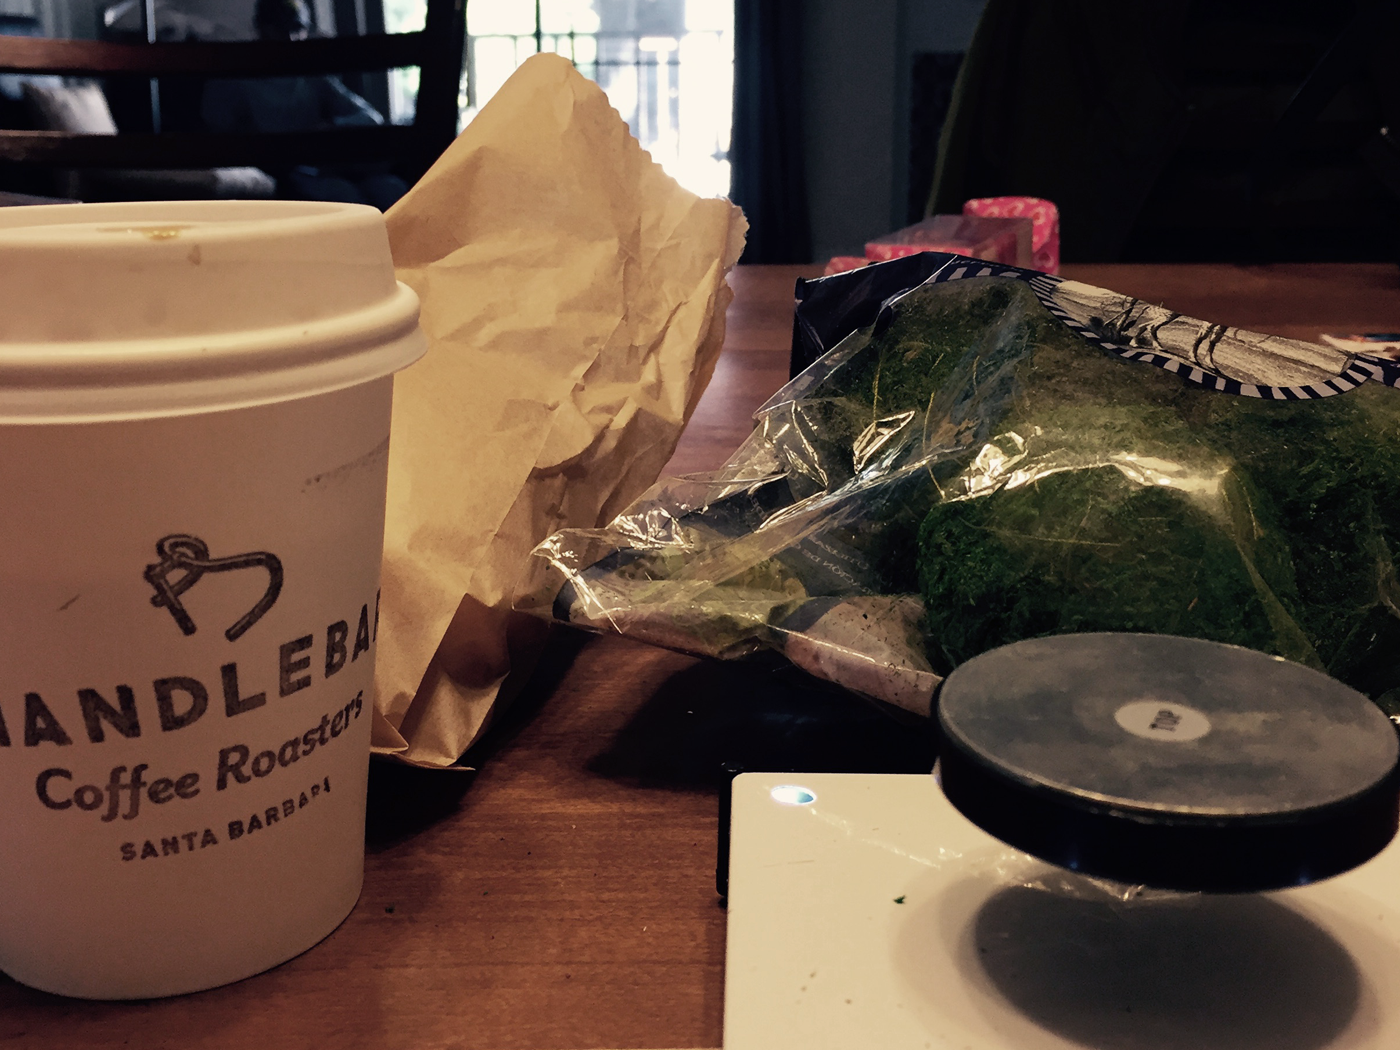
Taking the elevation platform apart was simple enough with the skew driver.
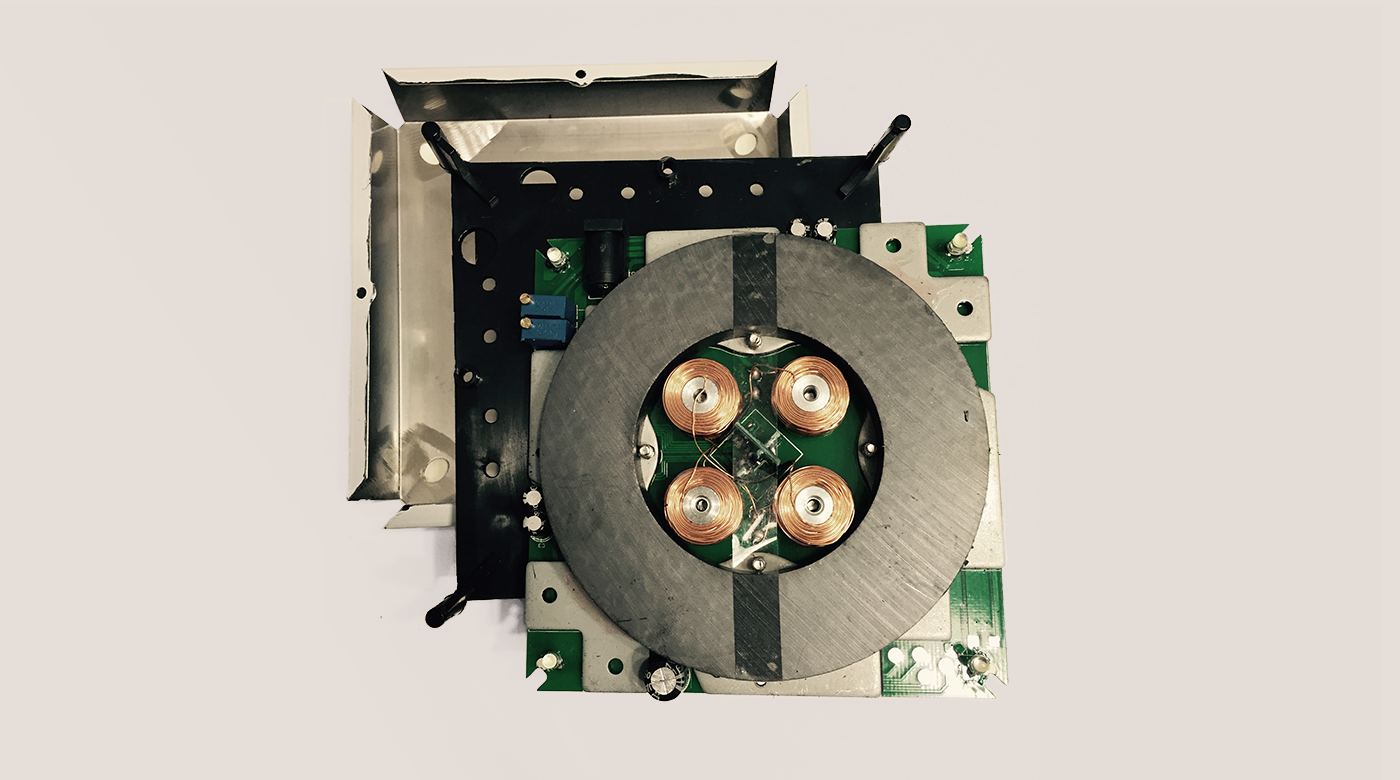
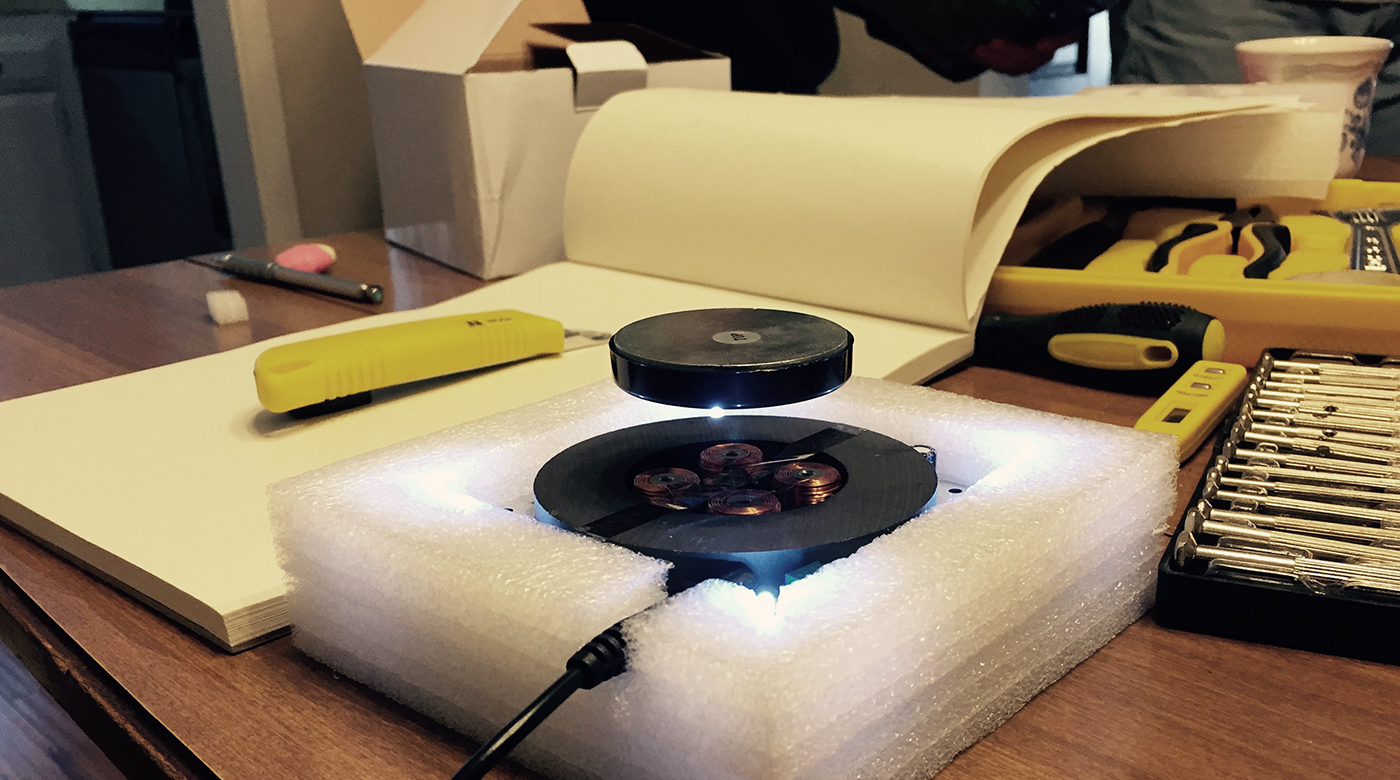
We took the packaging foam that came with the platform and used that as a container to hold the middle layer. It was actually a very good fit and provided nice support. We also cut a notch in the wall of the foam box for the wire.
To make sure we didn’t break anything in the process, we did a quick test to make sure that the disk floats:
After that, we moved on to making the moss ball. Our original plan was just to cut a moss ball in half and stick it back with a hot glue gun. But the ball was very lose by itself and kept breaking apart, so it ended up being quite a messy job with loads of glue to keep things in tact.
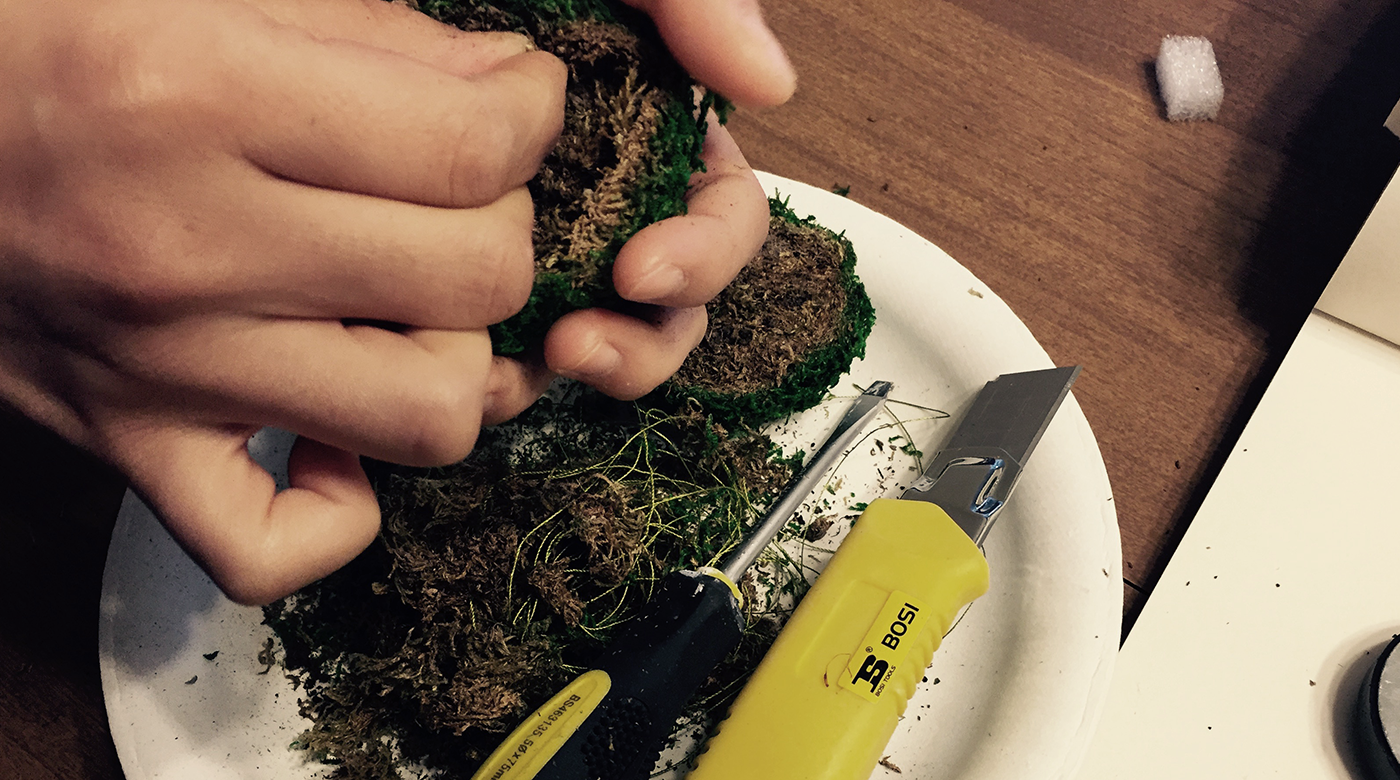
We started off with a round moss ball, and shaved it down bit by bit to leave as much room as possible at the bottom to maximize the elevation effect. Again, a lot of messy work but it ended up looking quite decent.
 Yisi is the girl holding the camera btw :)
The last step was just to find a large enough bowl and shave the foam down for a nice fit, and we have a basic Air Bonsai base right there:
Room for Improvements
Admittedly, this is just a proof of concept. Like I mentioned in the beginning, the motivation behind this is not to make a perfect product like the actual Air Bonsai, but to show how easy we can hack together a cool project. If you want the perfect version, definitely check out their page.
So a few potential improvements that I can think of:
-
Find a better and prettier container, ideally with a hole at the bottom and move the wire there. In the current model, the wire actually hangs from the side.
-
Place some plants onto the moss ball so it’s not just a base.
-
Shave the foam a little bit better. As you can see, it still overflowing a little bit over the bowl. Again, I Photoshop-ed it away in the title image, in case you didn’t realize. If you are making it at home, you can easily fix this with some scissors and sandpaper.
There you have it, a quick DIY of an insanely beautiful product. Yisi and I completed it in around three hours. If you end up giving it a try, definite post it and @ me on Twitter. I’d LOVE to see it.
I hope you find this article useful. If you want to get an email every time I write something new, subscribe to the list below.